
Early Rodent Detection
Signs of Mice Infestation: Physical Evidence & Next-Step Checklist
Direct Answer: The Primary Warning Signs of Mice
Suspected droppings, gnawed packaging, nesting material, rub marks and tracks justify inspection, but no single sign conclusively identifies mice. Document where signs occur, without touching or crushing waste. Check for new physical evidence after safe cleanup rather than assigning a severity score or inferring a population.[5]
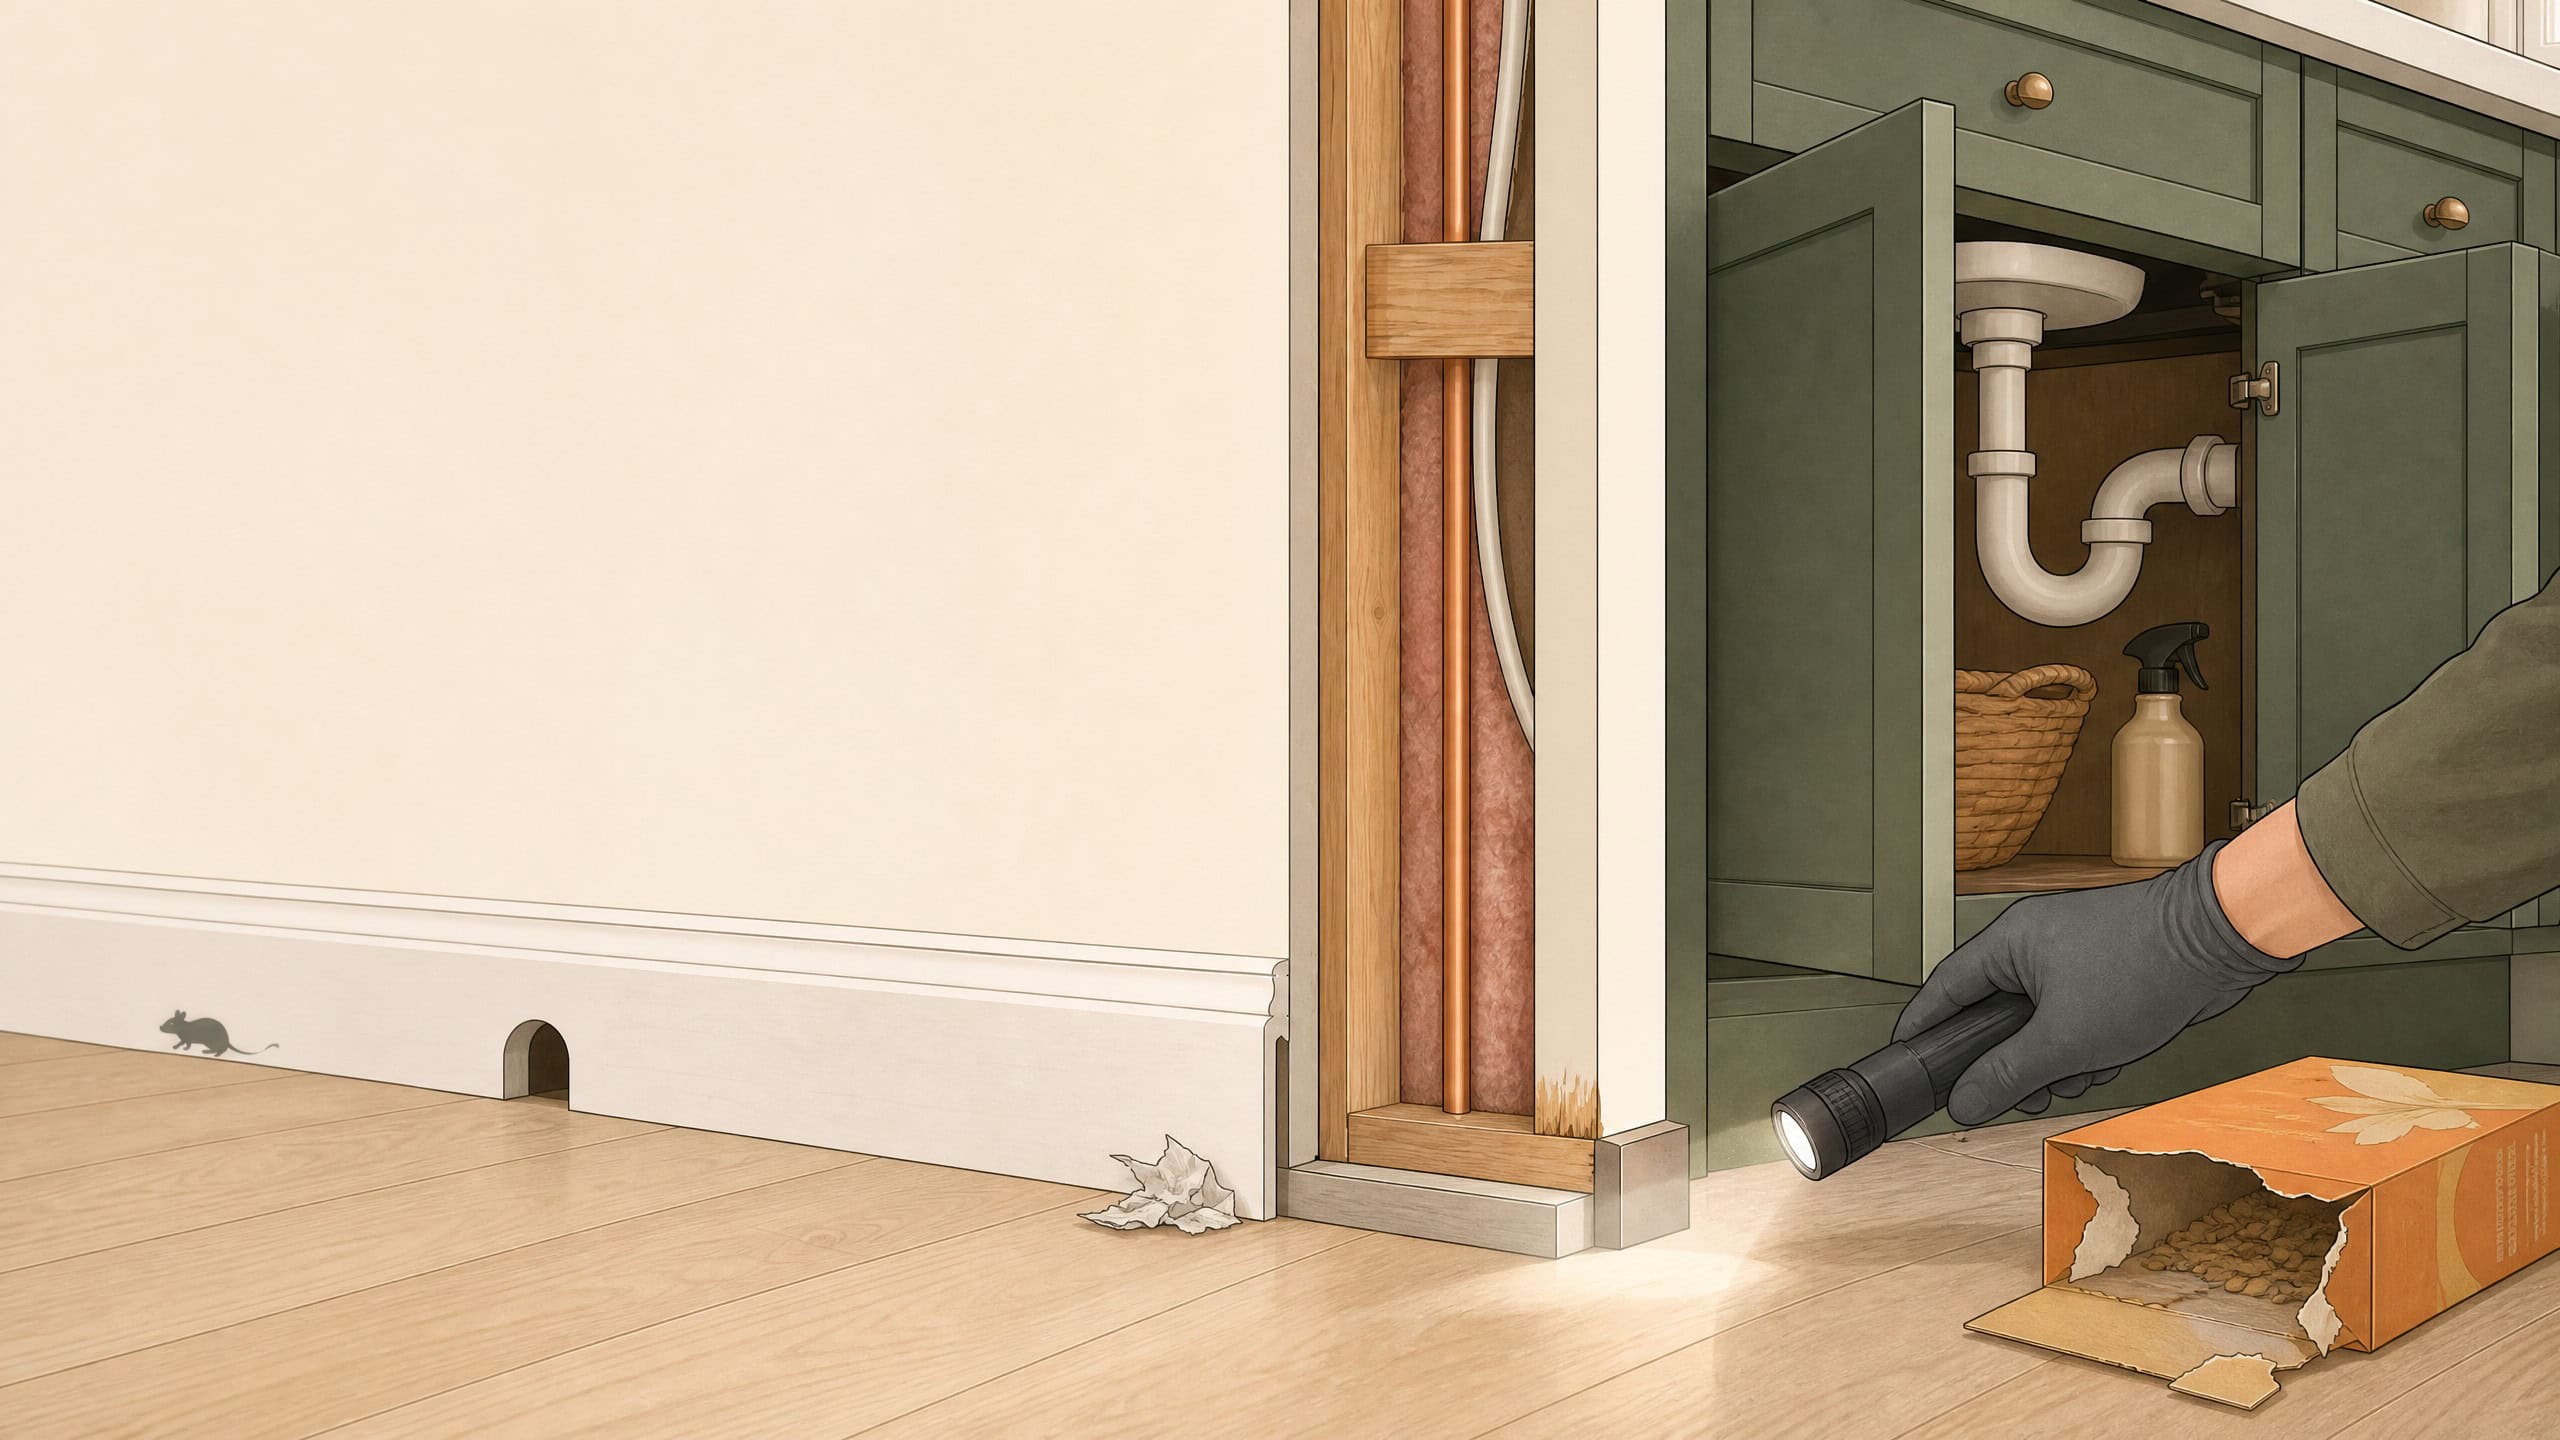
Use the evidence-to-action table below to choose a proportionate next step. Separate what you observed from what still needs confirmation; a noise, odor or old mark is not a diagnosis.
In This Evidence Guide:
- Evidence-to-Action Triage Table
- Rodent Evidence Checklist
- Comparing Animal Signs: Identification Limits
- New vs. Previously Recorded Evidence: What to Check
- Dropping Comparison: Limits of Appearance
- Video Guide: 7 Early Warning Signs of Mice
- Room-by-Room Inspection Checklist
- 14-Day Monitoring Observation Log
- Frequently Asked Questions
Evidence-to-Action Triage Table
Connect observations to the relevant guide without treating a clue as a diagnosis. If safe, photograph and record the location without touching waste, then follow wet-cleanup precautions. Do not delay necessary cleanup just to preserve evidence.[3][5]
| Sign Observed | What To Investigate | Immediate Correct Action |
|---|---|---|
| Small dark pellet-like waste | Suspected rodent waste; current activity and species are not established by appearance alone. | Compare observations with our droppings guide, then wet-clean safely. |
| Scratching sounds in wall at night | Possible nocturnal rodent movement (clue to inspect for physical droppings/gnaw marks, not confirmation by itself). | Record sound timing and inspect accessible areas for physical evidence; sounds alone do not justify mouse-specific trapping. See mice in walls guide. |
| Chewed cereal boxes / pet food | Food-packaging damage warrants inspection; record whether new damage appears. | Discard visibly contaminated food and secure unaffected food in tight-lidded containers. Choose suitable traps only where rodent evidence supports placement.[1][2][4] |
| Greasy smudge marks on baseboard | A possible rub mark; neither species nor current traffic is established by a mark alone. | Inspect for corroborating physical evidence and choose safe, protected trap positions when mouse activity is confirmed. |
| Overhead scampering in ceiling | A sound requiring investigation; it does not identify an animal or entry point. | Inspect safely visible gaps from ground level; use qualified help for roof, attic or other unsafe access. See attic insulation guide. |
Comparing Animal Signs: Identification Limits
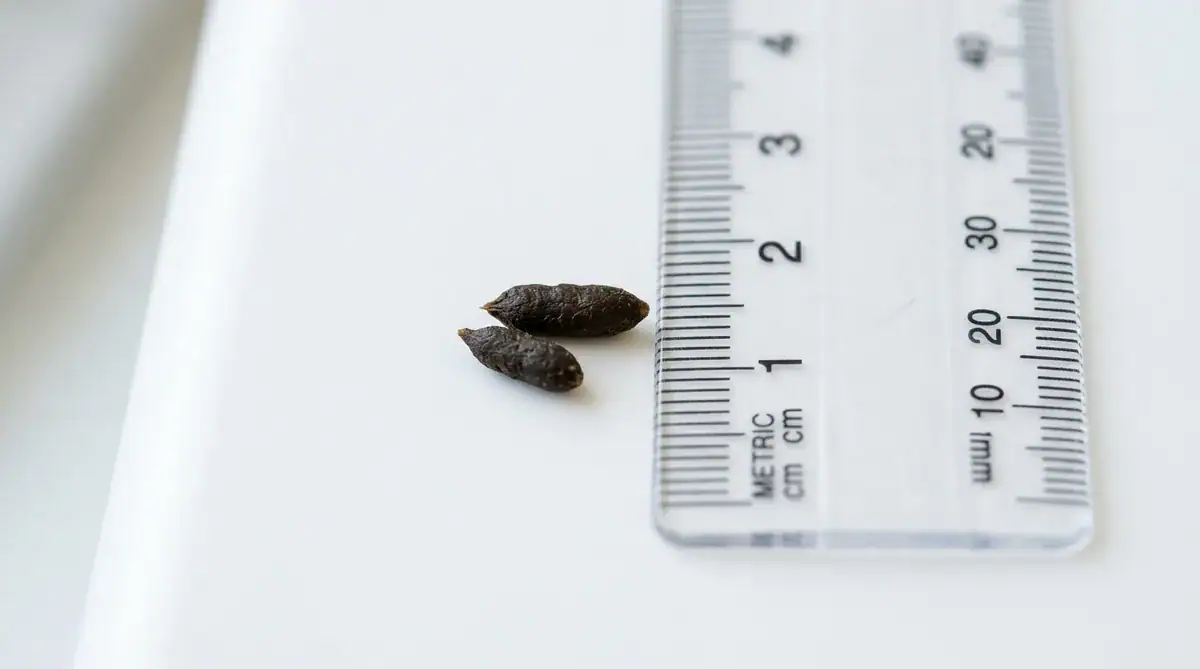
This comparison is an inspection prompt, not a species key. Timing, noise and waste appearance can overlap. If identification remains uncertain, seek qualified help before choosing animal-specific traps or exclusion work.
Stop-DIY threshold
Signs it is time for professional help — and what to do next
Repeated activity after correct DIY steps, heavy droppings, contaminated insulation, HVAC involvement, inaccessible wall or attic activity, dead-rodent odor, or wiring damage all justify qualified professional help. If you are continuing DIY, do it with the right tools and containment:
Disclosure: Some product links may be affiliate links. If you buy through them, we may earn a commission at no extra cost to you.
| Animal | Dropping Characteristics | Noise / Activity Pattern | Secondary Markers |
|---|---|---|---|
| House Mouse | Small pellet-like waste is a clue to investigate, not a species identification. | Timing and sound are not sufficient identification; seek physical evidence. | Gnawed food boxes, rub marks along walls |
| Norway / Roof Rat | Do not identify rats from waste appearance alone; seek qualified identification. | Sound descriptions do not identify rats; seek corroborating physical evidence. | Possible burrows or larger damage warrant inspection; an opening does not prove the species. |
| Tree Squirrel | Waste appearance alone is insufficient for identification. | Record timing; it is not sufficient to identify squirrels. | Record exterior damage or stored material without assuming its source. |
| Bat Colony | Possible droppings need qualified identification. Do not crush or handle waste to test it. | Record sounds or visible flight from a safe distance; seek qualified identification. | Waste beneath an opening warrants qualified identification; do not assume bats or disturb a roost. |

Video Guide: 7 Early Warning Signs of Mice
This existing video illustrates signs to investigate; it cannot identify the animal or assess the conditions in your home. Record observations and corroborating evidence rather than treating a video comparison as a diagnosis.
Room-by-Room Inspection Checklist
Use a flashlight to inspect only safely accessible areas. Do not move connected appliances, disturb utilities, climb onto a roof or enter unsafe attics/crawlspaces to investigate a clue. CDC lists cabinets, appliances, pipe openings and building gaps as inspection locations.[4]
- Kitchen & Pantry: Behind refrigerator, under dishwasher toe-kick, lower cabinet rear corners, under-sink plumbing pipe penetrations.
- Garage: Along foundation mudsills, corners of garage overhead doors, around grass seed and pet food bags.
- Laundry Room: Dryer exhaust vent pipe junction and washing machine drain hose openings.
- Basement & Crawlspace: Rim joists, sill plates, and main electrical conduit entries.
- Attic: Soffit transitions, top plates, and hatch frame perimeter.
Example 14-Day Observation Log (Not a Clearance Test)
The rows below are illustrative, not site results or a clearance test. Trap counts describe this example only, not a quantity for every home. Check traps daily, not only on the listed dates; log new signs after cleanup and reassess persistent activity.[2][5]
| Date | Location Inspected | Evidence Observed | Corrective Action Taken | New Evidence Since Last Check? |
|---|---|---|---|---|
| Day 1 | Kitchen lower pantry | 5 suspected droppings of unknown age; damaged rice bag | Wet-cleaned; food into glass; 2 snap traps set | First observation; no prior check |
| Day 3 | Pantry | 1 mouse caught in trap | CDC wet disposal; re-baited with peanut butter | No new droppings |
| Day 14 | Pantry & Kitchen | No new droppings observed; no catches recorded | Repairs inspected; continue monitoring for new evidence. | No new signs recorded; continue monitoring and checking repairs |
Frequently Asked Questions
What is the first sign of mice in a house?
Droppings, gnaw marks or damaged food packaging may be noticed before an animal is seen. There is no universal first sign, and appearance alone does not establish species or current activity. New droppings after safe cleanup are evidence of continuing rodent presence.[1][5]
Can I have mice but no droppings?
Mice can remain out of view, but scratching without visible droppings does not establish that mice are present. Inspect safely accessible areas for physical evidence and use the mice-in-walls investigation guide before considering any invasive work.
Do scratching noises always mean mice?
No. Timing and sound descriptions cannot reliably distinguish mice, rats, other animals or building noises. Look for accessible physical evidence and obtain qualified identification when the source remains uncertain.
References & Scientific Standards:

Alexios Papaioannou is the founder and lead editor of Mice Gone Guide. He oversees research, article review, and content updates focused on mouse prevention, humane control, home proofing, and safety-first household guidance.