
Evidence-Led Home Rodent Control
How to get rid of mice
Direct Answer: The Evidence-Led 5-Step Mouse Removal Sequence
To get rid of mice, combine inspection, secure food storage, suitable protected trapping, safe wet cleanup and durable entry-point repair. Use physical evidence to decide where to inspect and trap, rather than guessing population size. For university-backed IPM standards, see UC IPM house-mouse guidance.[1]
Jump Directly to Your Specific Situation
If your rodent problem is isolated to a specific room or vehicle, jump directly to our dedicated specialist guides:
| Your Current Situation | Dedicated Guide Link |
|---|---|
| Scratching noises inside drywall at night | Mice in Walls Guide → |
| Noises in ceiling or contaminated attic insulation | Attic Mice & Insulation Guide → |
| Droppings or nesting under car hood or in cabin | Mice in Car & Engine Bay Guide → |
| Found droppings; need safe cleanup instructions | Safe Droppings Wet Cleanup Guide → |
| Not sure if pellets are mice, rats, or bugs | Mouse Droppings Identification Scale → |
| Need to choose the safest, best trap for your home | Best Mouse Traps Review & Selection Matrix → |
| Deciding between copper mesh and steel wool for holes | Steel Wool vs Copper Mesh Comparison → |
| Why CDC advises against glue & live traps | Stressed rodents may urinate and raise disease exposure (CDC Trap Up →) |
What to Do Tonight: Safe First Moves
| Evidence Discovered | Best Action Tonight | What NOT to Do |
|---|---|---|
| Suspected droppings along wall | Record the location without disturbing waste; wet-clean safely. Use suitable traps along confirmed rodent routes.[2][3] | Do not sweep or vacuum untreated waste.[3] |
| Chewed food packaging | Discard visibly contaminated food; move unaffected goods into tight-lidded glass, metal or thick plastic containers.[1][4] | Do not leave thin cardboard boxes on shelves. |
| Scratching noises in walls | Record the sound location and timing; inspect accessible adjacent areas for physical signs before choosing traps. | Do not cut into drywall or toss loose poison. |
The 7-Step Mouse Removal System
Step 1: Confirm the Active Zone & Map Evidence
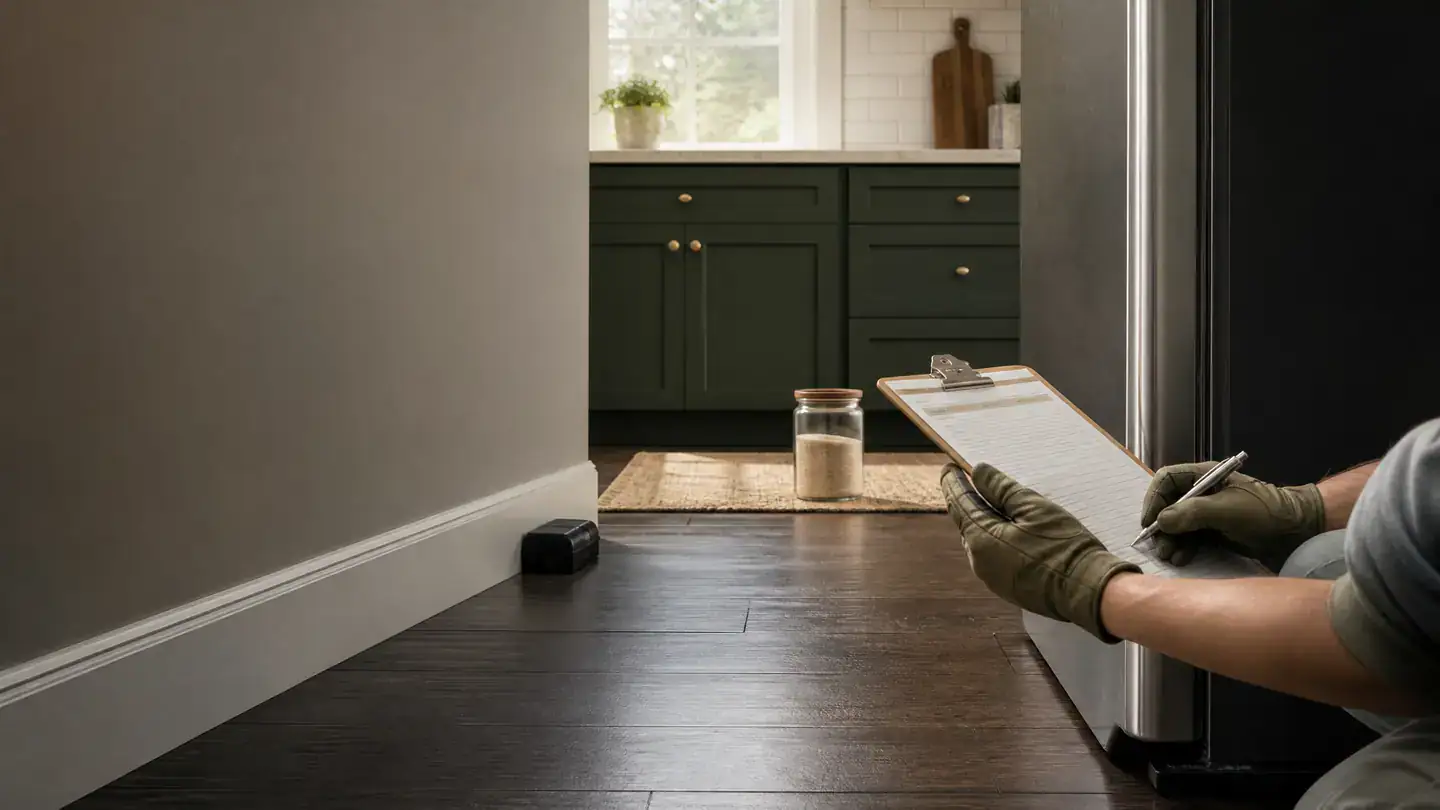
Use a flashlight to inspect safely accessible floor-wall junctions, under-sink plumbing gaps and spaces behind appliances. Look for suspected droppings, gnawing, damaged packaging and nesting debris; record the location and date. Appearance alone does not establish species or when a sign was left. New droppings after safe cleanup support continuing rodent activity.[1][5] See our signs of mice guide for an evidence checklist.
Step 2: Remove Food Attractants & Secure Pantry Goods
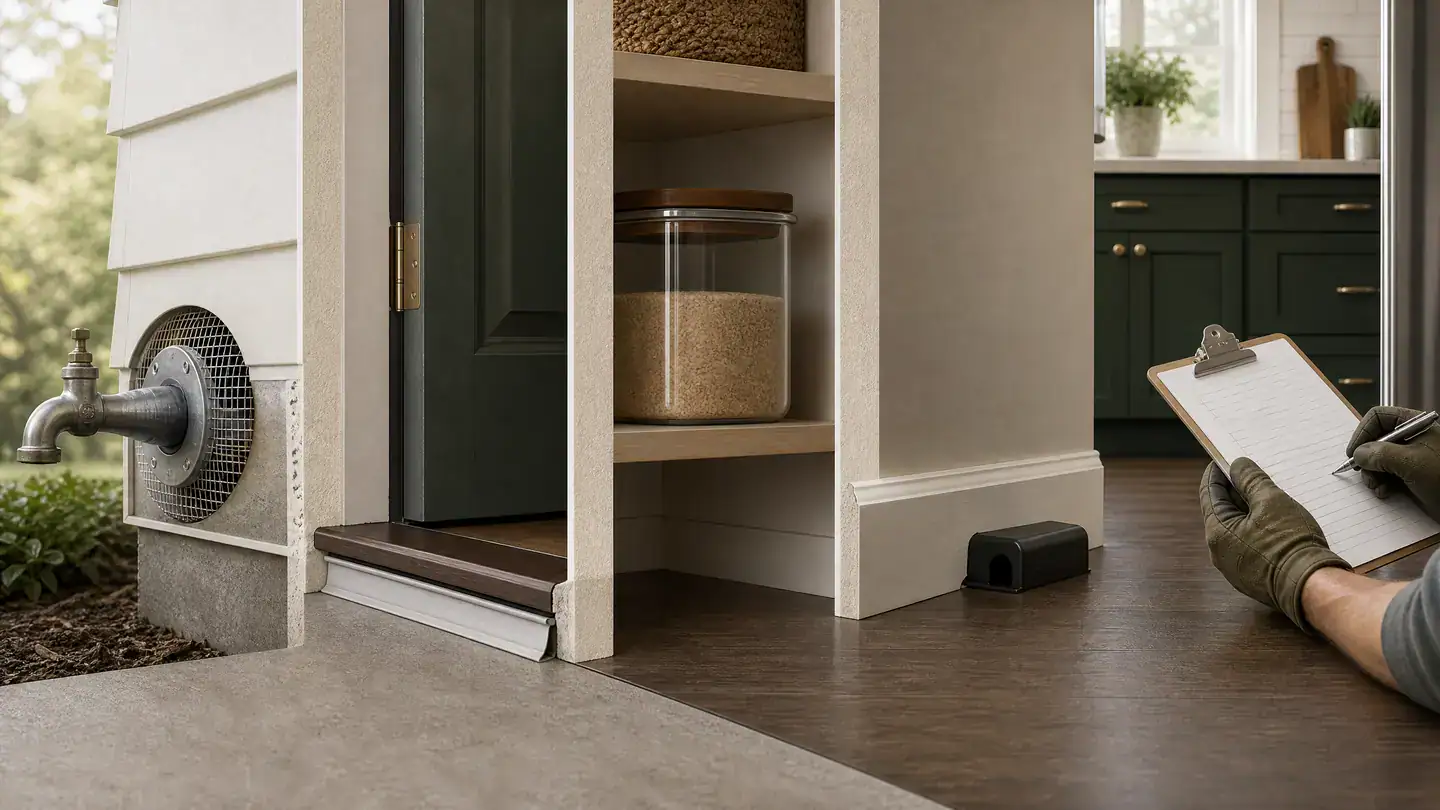
Store grains, flour, pet food and snacks in thick plastic, metal or glass containers with tight lids. Clean spills, put pet food away after use and empty garbage regularly into covered bins. Reducing food access supports control, but sanitation alone will seldom resolve an established mouse problem.[4][1]
Step 3: Place Mouse-Sized Snap Traps on Active Routes
For confirmed mouse activity, use mouse-sized snap traps and follow their instructions. Put a small amount of chunky peanut butter on the bait pan, set the trap against the wall, and put the baited end against the wall so it forms a T. Check daily. The CDC says not to use glue traps or live traps, because a stressed rodent may urinate and raise disease exposure (CDC Trap Up). Keep traps and bait out of reach of children and pets—no trap is automatically pet-safe.[2] See where to place mouse traps and compare hardware in our best mouse traps guide.
Step 4: Safely Wet-Clean Droppings & Nesting Sites
Do not vacuum or sweep untreated droppings, urine, or nests. For a home or outbuilding, CDC advises opening doors and windows for 30 minutes and leaving the area before cleaning. Wear rubber or plastic gloves. Wet the waste thoroughly with an appropriate disinfectant and leave it for 5 minutes or the time on its label before wiping it up with paper towels. Never mix bleach with other cleaners. Heavy contamination or contaminated heating/cooling ducts requires additional precautions and qualified advice. Follow CDC cleanup guidance and our complete droppings cleanup procedure.[3]
Step 5: Seal Exterior & Interior Entry Points
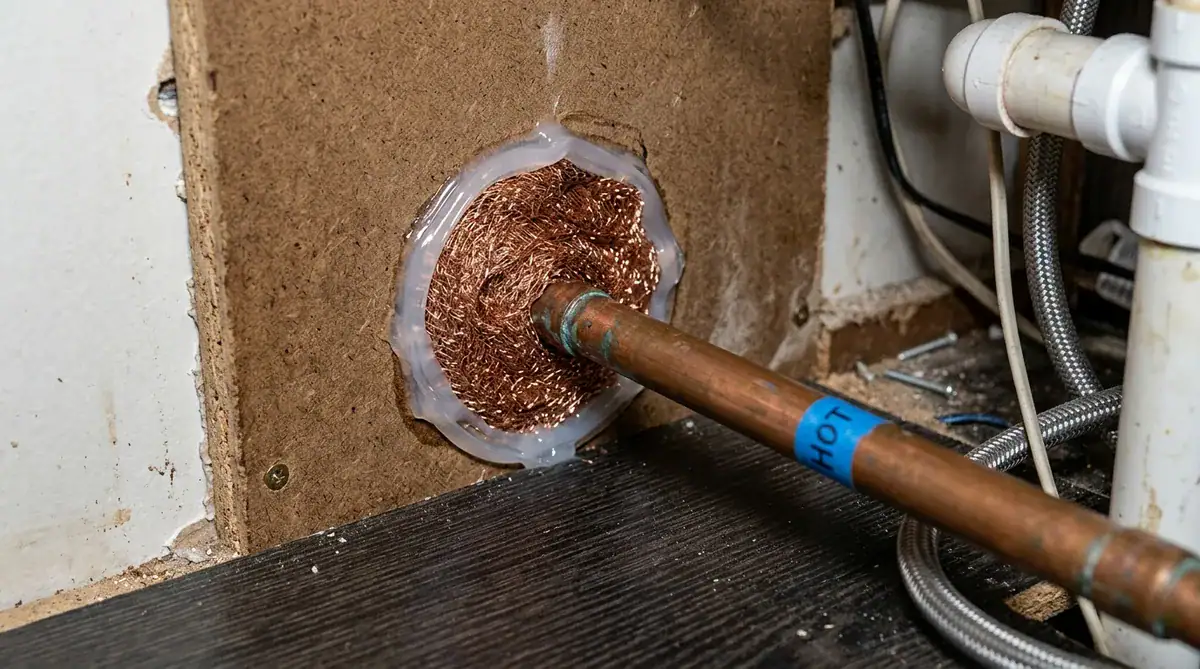
Mice can enter pencil-width openings (about 1/4 inch). Inspect inside and outside and repair suitable entry gaps as part of control, while trapping rodents that may remain indoors; zero catches is not a prerequisite or a clearance test. CDC recommends steel wool secured with caulk for small holes and metal, cement or hardware cloth for larger openings. UC IPM cautions that expanding foam and other gnawable materials alone are ineffective.[4][1] Do not obstruct required ventilation or drainage, and have qualified trades assess penetrations around utilities. Compare materials in steel wool vs copper mesh.
Step 6: Keep a Dated Monitoring Record
Check traps daily and record catches, new deposits after safe cleanup and new damage. CDC also advises checking bait weekly and refilling or moving it as needed for at least 15 days, longer if rodents remain.[2] Its one-week statement requires both no captures and no new signs and refers specifically to rats.[2] For this mouse guide, our conservative editorial approach is to use those observations for reassessment, not promise a clearance date or infer how many mice remain. Reinspect entry repairs and adjust trap placement to evidence. Use our printable mouse removal checklist to log checks and repairs. See CDC Trap Up.
Step 7: Escalate to Qualified Professionals When Needed
Seek qualified pest-control help for persistent confirmed activity, inaccessible waste or evidence in heating/cooling ducts. Damaged electrical wiring also needs a qualified electrician; do not disturb it during inspection.[3][4][1]
Video Guide: Complete Home Mouse Elimination Sequence
This existing video illustrates mouse-control steps. Treat it as a demonstration, not evidence of success in your home; follow the safety guidance and product instructions above.
Natural & Low-Toxicity Approaches: Realistic Limits
Exclusion, food storage and suitable protected trapping can reduce reliance on rodenticides, but traps and cleanup still require precautions. Do not substitute scent sprays or ultrasonic devices for inspection, trapping and entry repairs.[1][2]
- Peppermint oil & botanical repellents: Scent products are not a substitute for the sanitation, exclusion and trapping measures in UC IPM guidance; they do not remove waste or repair entry holes.[1]
- Ultrasonic electronic repellers: UC IPM reports little evidence that sound devices drive established rodents from buildings or provide prevention or control. Ultrasonic sound is directional and does not penetrate behind objects.[1]
DIY vs. Professional Removal: Decision Table
| Factor | DIY Approach Fits Best | Professional Service Recommended |
|---|---|---|
| Evidence Scope | Confirmed mouse signs in safely accessible areas; one room does not establish population size. | Activity across multiple levels, attic, and crawlspace. |
| Access Safety | All entry points and runways are easily reached at ground level. | Requires high ladder work on steep rooflines or unstable attics. |
| Structural Hazards | No electrical or duct damage observed. | Chewed wiring, duct infiltration, or severe insulation contamination. |
| Budget Planning | Price the traps and suitable repair materials required for your own site. | Request written local quotes covering inspection, control, exclusion and any cleanup separately. |
Why the CDC Advises Against Glue Traps and Live Traps
The CDC explicitly advises against using glue traps or live traps. CDC explains that these traps can frighten rodents and cause urination, potentially increasing exposure; this does not determine disease risk in your home.[2] For confirmed mouse activity, use mouse-sized snap traps according to their instructions, with a small amount of bait and the baited end against the wall in a T; check them daily.[2] Keep all traps and bait out of reach of children and pets—no trap is automatically pet-safe.
Need a printable room-by-room tracker? Use our mouse removal checklist or organize your rooms in the Mouse Next-Step Planner.
Mice problem action box
Choose evidence-led DIY control or qualified professional help.
DIY trapping may be an option when rodent evidence is confirmed and trap locations are safely accessible. Recurring signs, uncertain identification, damaged wiring, contaminated ducts or inaccessible waste call for qualified help. Sounds alone do not establish an infestation or its size.[1][3][4]
As an Amazon Associate, Mice Gone Guide earns from qualifying purchases, at no extra cost to you.
Disclosure: Some product links may be affiliate links. If you buy through them, we may earn a commission at no extra cost to you. For heavy contamination or unsafe access, contact a qualified professional. If you feel ill after possible rodent exposure, tell a healthcare provider about that exposure.[3]
Frequently Asked Questions
What is the safest way to get rid of mice in a home?
Use an evidence-led combination of tight-lidded food storage, suitable snap traps along confirmed routes, safe wet cleanup and durable entry repairs. Follow trap instructions, keep traps away from children and pets, and check daily. For cleanup, follow CDC ventilation and glove precautions; soak waste for 5 minutes or the disinfectant label time before wiping it up. No method is automatically risk-free.[1][2][3]
Why does the CDC say not to use glue traps or live traps?
CDC advises against glue and live traps because they can frighten rodents and cause urination, which can increase the chance of getting sick. This is precautionary advice, not an assessment of disease risk in your household.[2]
How do I know if my mouse removal plan is working?
Check traps daily and keep a dated record of catches, new deposits after safe cleanup, new damage and entry repairs. No catches and no new signs are encouraging observations, not a guaranteed clearance date or a count of remaining mice. Persistent signs call for reassessment.[2][5]
Can mice come back after you trap them?
Yes. Trapping does not repair entry gaps. Inspect inside and outside for openings and use suitable gnaw-resistant repairs, such as steel wool secured with caulk for small holes and metal or hardware cloth for larger openings. Continue checking repairs and new evidence.[4][1]
Authoritative References & Scientific Standards:

Alexios Papaioannou is the founder and lead editor of Mice Gone Guide. He oversees research, article review, and content updates focused on mouse prevention, humane control, home proofing, and safety-first household guidance.