Mice Gone Guide
Mouse Proofing: Seal Entry Points and Stop Mice From Coming Back
Helpful video: practical mouse-control steps
Watch this for a visual overview, then follow the written steps on this page for cleanup, proofing, bait placement, and safety details.


Mouse proofing works only when it follows the right sequence
Many people seal a few obvious holes, still hear scratching, and assume mouse proofing does not work. The real issue is usually sequence. If food remains available, mice keep exploring. If active mice are inside, sealing can push them into worse areas. If foam is used alone, mice can chew or push through. If garage door corners are missed, the house remains open.
The correct order is: inspect, remove food access, trap or control active routes, clean droppings safely, seal durable entry points, and monitor for new signs. That sequence strengthens every related page on your site: signs of mice, mouse droppings, traps and baits, and cleanup safety.
Mouse-proofing priority map
1
2
3
4
5
Best mouse-proofing materials
The best material depends on the gap. Small utility gaps often need copper mesh or stainless fill fabric plus sealant. Large holes need hardware cloth, metal flashing, mortar, concrete, or proper carpentry. Doors need sweeps, thresholds, weatherstripping, and sometimes jamb repair. Vents need protection that preserves airflow.
Avoid gnawable materials as the only repair. Plastic screening, rubber, vinyl, weak foam, and thin wood can fail when mice have a strong reason to enter. Foam can be useful in a finished assembly, but foam alone is not a mouse-proofing plan.
Steel wool, copper mesh, and stainless fill fabric
Steel wool for mice gets search volume because it is familiar. It can work in some small gaps, especially indoors and temporarily. The problem is rust and movement. Copper mesh is easier to shape and does not rust like ordinary steel wool. Stainless fill fabric is designed for rodent exclusion and can be more durable when installed correctly. The final repair still matters: packed material should not be easy to pull out, and the surrounding surface should be sealed or repaired.
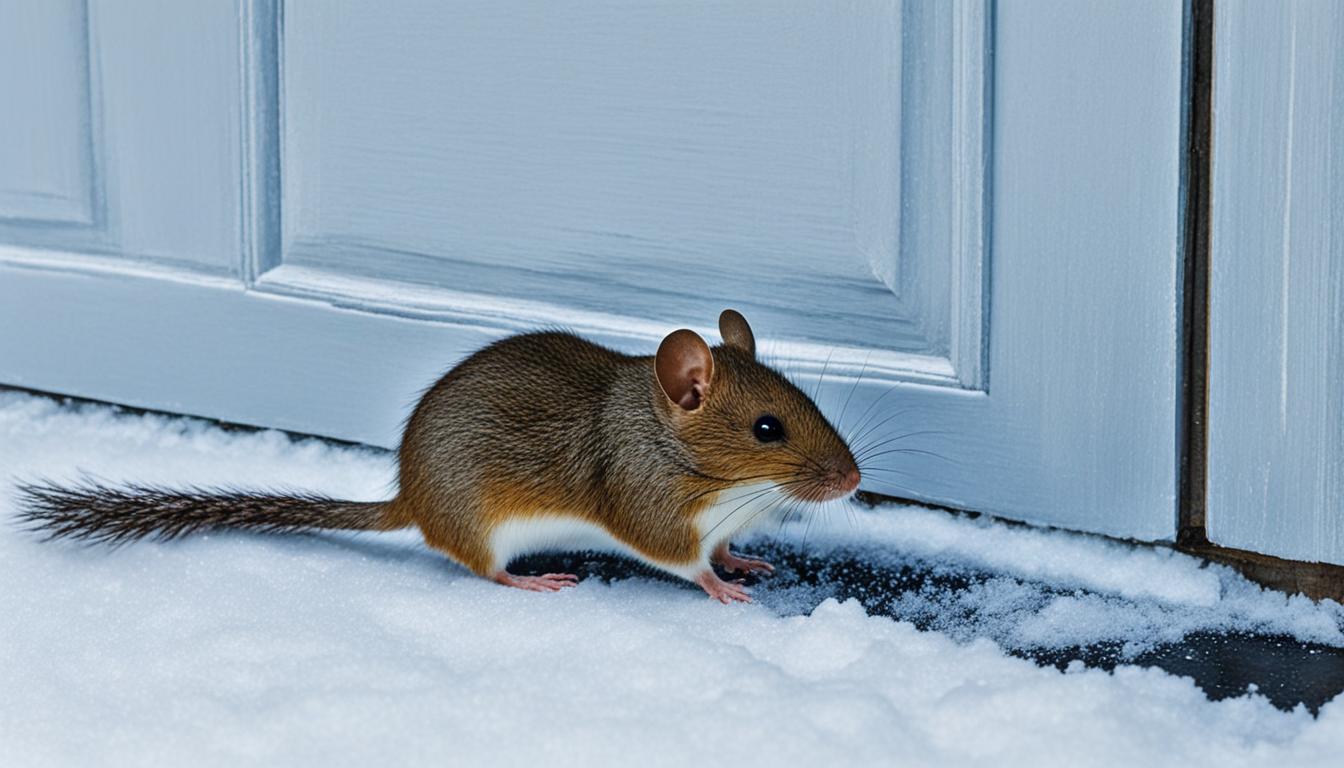
Garage mouse proofing
Garages deserve special attention because they combine easy access, low disturbance, clutter, and stored food. A garage door can look closed and still have mouse-sized openings at the corners. Replace damaged weatherstripping, repair uneven thresholds, move seed and pet food into rigid containers, and reduce cardboard along walls. Then use traps along active wall edges before final sealing.
Kitchen and utility mouse proofing
Under-sink pipe gaps are one of the most common routes. Pull stored items out of lower cabinets, look for droppings, clean safely, and inspect where pipes pass through the wall or cabinet base. Seal only after active routes are controlled. Behind appliances, check gas and electrical safety; do not pack material into unsafe utility areas.
Mouse proofing products and tools
Affiliate disclosure: as an Amazon Associate, Mice Gone Guide may earn from qualifying purchases. Product availability, packaging, sellers, and labels can change. Check the current listing and product label before buying or using anything around children, pets, food, or contaminated areas.

Xcluder Rodent Control Fill Fabric DIY Kit
Best for: Packing small utility gaps, pipe penetrations, and siding transitions before sealing with the right surface-compatible material.
Avoid if: Do not use it as a structural repair for large holes, damaged masonry, open vents, or unsafe ladder work.

Heavy-Duty Nitrile Disposable Gloves
Best for: Reducing direct hand contact while wiping droppings, bagging disposable towels, and handling contaminated liners.
Avoid if: Do not reuse disposable gloves after cleanup or touch clean surfaces with contaminated gloves.

Victor Metal Pedal Wooden Mouse Traps, 20 Pack
Best for: Placing several traps along active wall routes, behind appliances, and near droppings where children and pets cannot reach them.
Avoid if: Avoid open snap traps in accessible areas with children, pets, or non-target animals.
What not to rely on
- Peppermint oil alone: scent may disturb exploration briefly, but it does not close holes or remove food.
- Ultrasonic devices alone: they do not remove an established infestation or seal the structure.
- Foam alone: it may look neat but can be gnawed or pushed through.
- One trap: a single trap in the open rarely controls multiple runways.
- One-time sealing: weather, door movement, utility work, and rodents can reopen weaknesses.
Monitoring after mouse proofing
After sealing, monitor with photos, dated notes, traps where safe, and weekly inspections. Look for new droppings, fresh gnaw marks, rub marks, and food damage. If new activity appears after proper proofing, you either missed an entry point, still have a food source, or are dealing with a larger hidden problem that may need professional inspection.
Real-home examples for mouse proofing
The fastest way to solve a mouse problem is to stop treating the entire house as one vague infestation. Start with the room or surface where the evidence appears, then decide whether the priority is identification, cleanup, trapping, sealing, or prevention. The same evidence can mean different things in a kitchen, garage, wall void, apartment, or storage area.
Kitchen pipe gap
Garage door corner
Foundation crack
Roofline or soffit gap
Use this table before buying anything. A trap helps only when there is active mouse travel. A disinfectant helps only after contaminated material is wetted and wiped safely. Sealing material helps only when the gap is correctly identified and the repair does not block required ventilation, drainage, combustion air, or access for utilities.
Final checklist before you act
- Keep children, pets, and unnecessary people away from contaminated or trapped areas.
- Photograph droppings, gnaw marks, nests, rub marks, food damage, or possible entry holes before cleaning or sealing.
- Remove food access first: pet food, bird seed, pantry spills, trash, snacks, and cardboard clutter.
- Place traps only on confirmed active routes and only where they can be used safely.
- Wet droppings and nesting material with disinfectant before wiping or disposal.
- Seal gaps with durable, chew-resistant materials after active routes are controlled.
- Monitor the same spots for new droppings for at least two quiet weeks.
The core principle for mouse proofing is simple: identify the strongest evidence, choose the safest next step, close the cause of the problem, and monitor for new activity. That sequence is more useful than a miracle claim and safer than relying on a single product.
Frequently asked questions
What is the best way to mouse-proof a house?
The best way is to remove food and shelter, control active mice, then seal all entry points with durable chew-resistant materials matched to the gap type.
What material keeps mice out?
Metal, concrete, mortar, hardware cloth, copper mesh, stainless fill fabric, and properly fitted door materials are more reliable than gnawable materials like foam alone, plastic, rubber, or thin wood.
Is steel wool good for mouse proofing?
Steel wool can help with small temporary gaps, but it can rust. Stainless fill fabric or copper mesh with correct sealant is usually better for durable repairs.
Do ultrasonic repellents mouse-proof a house?
No. Sound devices do not close holes, remove food, clean contamination, or trap active mice. Exclusion and sanitation are the real prevention steps.
How long should I monitor after mouse proofing?
Monitor for at least two quiet weeks after the last sign of activity, then recheck monthly and after weather changes, contractor work, or seasonal storage changes.
More practical questions readers ask
What should I do tonight if I cannot finish the whole job?
Do the safest reversible actions first. Move exposed food into rigid containers, keep children and pets away from contaminated areas, photograph evidence, place traps only where they can be used safely, and avoid dry cleanup. Do not start demolition, roof work, wall cutting, heavy contamination cleanup, or rodenticide use when you are tired or unsure.
What should I track after taking action?
Track the date, room, evidence type, cleanup completed, traps placed, catches, sealed gaps, and new signs. Simple notes prevent repeated guessing. If new droppings appear after cleanup, the route is still active. If traps are untouched but food damage continues, placement may be wrong or competing food remains.
What should happen after this step?
Every mouse problem has connected parts: signs, active removal, safe cleanup, exclusion, prevention, and monitoring. After the immediate problem is handled, check the related step that closes the loop. Droppings need cleanup and active control. Traps need food control and placement. Sealing needs monitoring. Prevention needs monthly checks.
What should I avoid believing?
Avoid guaranteed timelines, miracle repellents, fake testing claims, and one-product solutions. Mice are controlled by reducing access to food and shelter, trapping or otherwise controlling active animals, cleaning contamination safely, sealing entries, and verifying that new signs stop.
When should I stop DIY and call a professional?
Call a qualified professional for repeated activity after correct DIY steps, heavy droppings, contaminated insulation, HVAC contamination, inaccessible wall or attic activity, dead-rodent odor, wiring damage, or health-risk occupants. Professional help is also appropriate when you cannot place traps, clean waste, or seal gaps safely.
Sources and safety references
- CDC: How to Clean Up After Rodents
- CDC: Hantavirus Prevention
- UC IPM: House Mouse Pest Notes
- EPA: Controlling Rodents and Regulating Rodenticides
This page is educational information for ordinary homes. It is not medical, legal, pesticide-label, or professional remediation advice. Follow product labels, local rules, and professional guidance for high-risk conditions.