
Disclosure: this page contains affiliate links. As an Amazon Associate, Mice Gone Guide earns from qualifying purchases, at no extra cost to you.
Mice problem action box
Need mice gone fast? Choose DIY control or professional help before activity spreads.
DIY trapping can work for light activity, but recurring droppings, attic noises, wall sounds, insulation contamination, or mice returning after sealing may require a professional inspection. Use the checklist below to act quickly and safely.
Disclosure: Some product links may be affiliate links. If you buy through them, we may earn a commission at no extra cost to you. For heavy contamination, illness risk, or unsafe areas, contact a qualified professional.
How to Get Rid of Mice in Attic Insulation Safely
Mice tunneling under attic insulation? Learn how to inspect runways without spreading contaminated dust, trap along top plates, and seal roofline entry points.
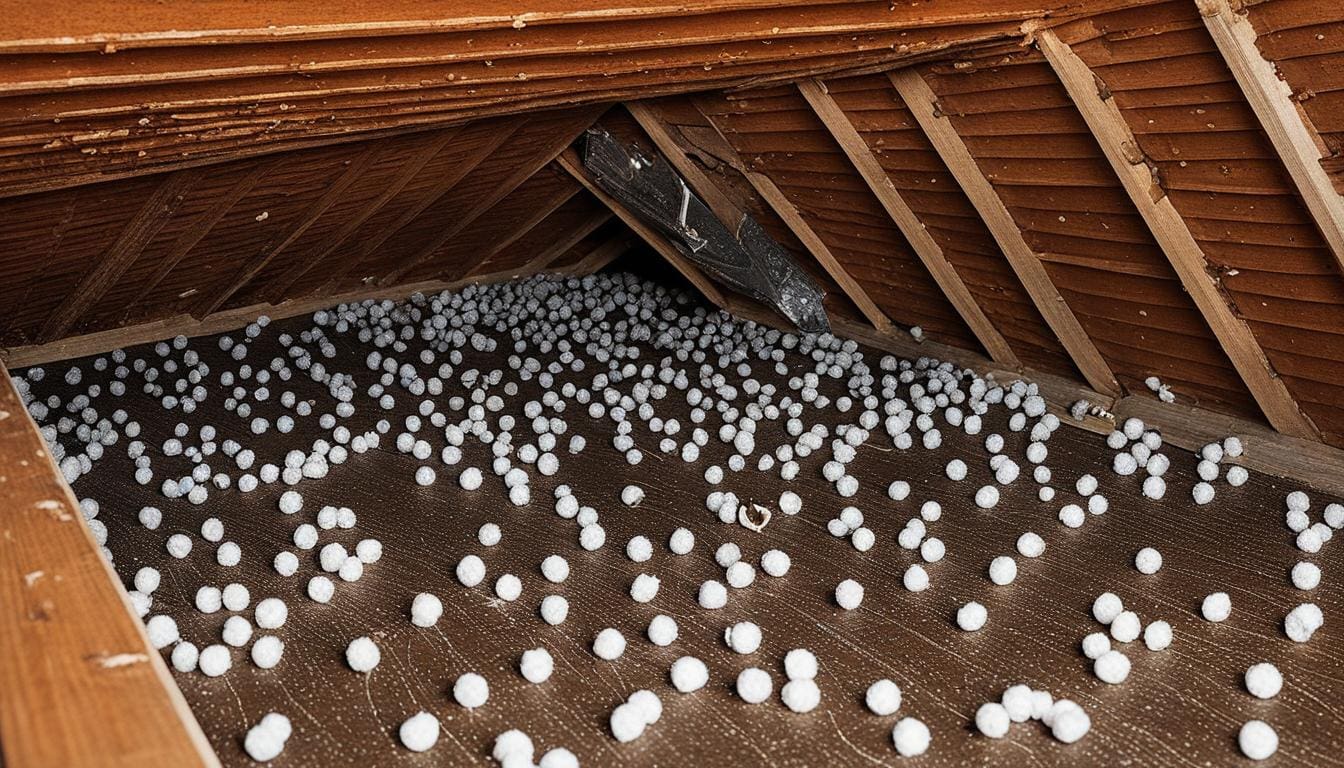
Direct Answer: What to Do About Attic Mice
Coordinate inspection, indoor trapping, safe cleanup and durable exclusion with a plan for mice already inside. Address urgent exposure safely and assess insulation before replacement. Rodenticides can leave inaccessible carcasses; use only label-compliant methods and seek qualified help for unsafe scope. Trapping duration varies with access, entry points, food and hidden nesting. Droppings do not establish a fixed timeline or clearance.
Record visible evidence without touching it; appearance cannot establish when it was deposited or whether mice remain. Do not disturb droppings or insulation while dry. If you have stable footing on ceiling joists, set enclosed mechanical snap traps along perimeter top plates where evidence is confirmed. Coordinate exclusion with indoor control; use a durable repair suited to the opening and preserve required airflow. Quiet traps alone do not prove all animals are gone. If insulation is heavily saturated with urine, wiring is chewed, or access is structurally unsafe, halt DIY action and contact a licensed pest remediation specialist.
Hearing nighttime scurrying overhead is distressing, but jumping into an attic without a safe inspection plan creates severe fall and health hazards. Before entering, corroborate overhead sounds with our signs of a mouse infestation checklist.
In This Attic Guide:
- Is the Evidence Current or Old? Inspection Limits
- Attic Cleanup and Quote Decision Aid
- Why Attic Mice Need a Different Plan Than Kitchen Mice
- Attic Inspection: Where to Look & What It Means
- Safe Attic-Removal Sequence (Step by Step)
- Insulation: Contaminated vs. Intact Decision Table
- Video Guide: Attic Inspection & Remediation
- Electrical, HVAC, and Fire Hazards
- When to Call a Qualified Professional
- After the Attic Is Clear: Exclusion & Monitoring
- Frequently Asked Questions
Is the Evidence Current or Old? Inspection Limits
Assess access and contamination before entering. Appearance can guide inspection but cannot establish when waste was deposited or whether mice remain:
| Evidence Observed | Interpretation limits | Immediate Action |
|---|---|---|
| Dark, intact droppings (observe without touching) | Possible rodent route; appearance alone cannot date it | Deploy snap traps along top plates; do NOT disturb dry. |
| Dusty or discolored droppings (observe without touching) | May be older evidence; does not rule out current activity | Wet-clean accessible hard surfaces safely and monitor for new evidence; do not infer inactivity from color. |
| Scratching Noises at Night (No visible droppings) | Unconfirmed species / wall void route | Inspect roofline and kitchen below before entering attic. |
| Tunnels in Blown Insulation & Ammonia Odor | Possible contamination; odor and tunnels do not establish colony size or current activity | Halt DIY; evaluate professional insulation remediation. |
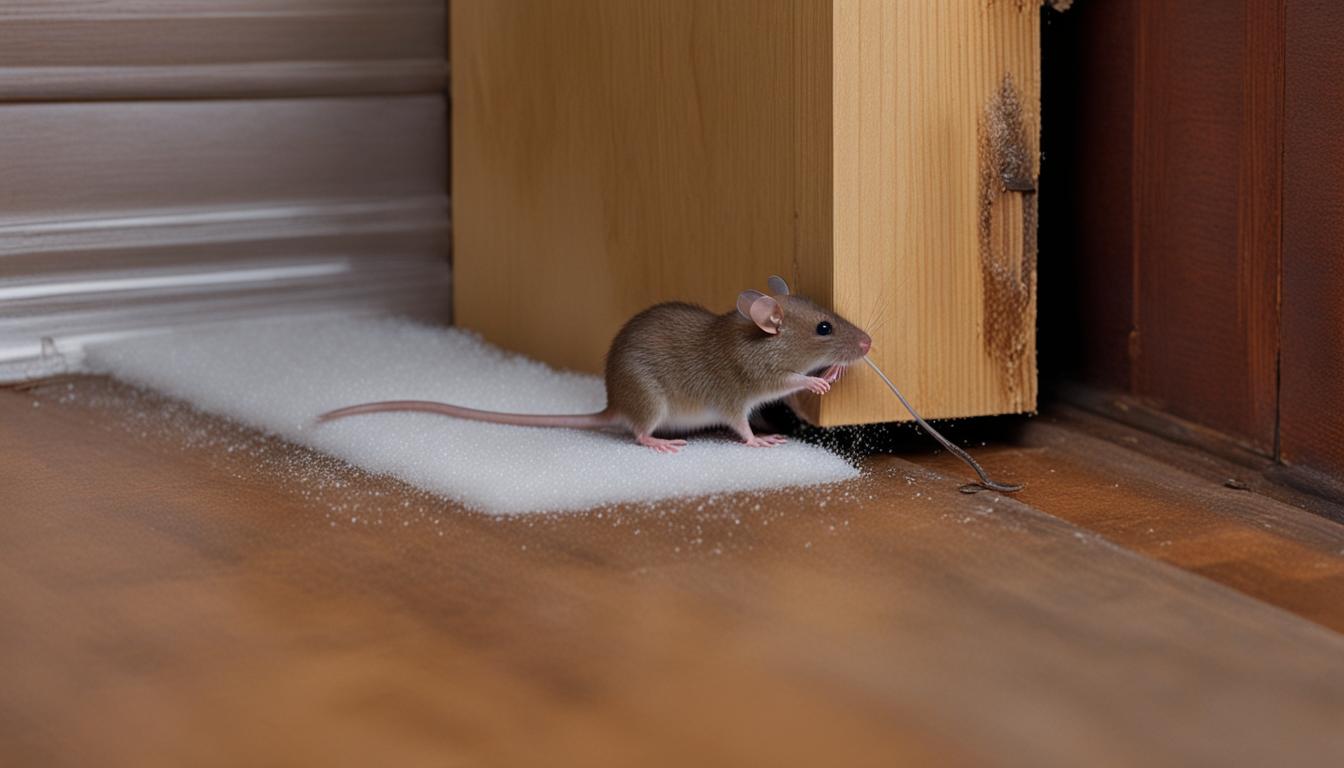
Why Attic Mice Need a Different Plan Than Kitchen Mice
In a kitchen, baseboards are flat, lighting is bright, and footing is stable. Attics present completely different operational hazards:
- Unstable footing on ceiling joists: Stepping off a joist means plunging through drywall into the room below.
- Airborne fiberglass and insulation dust: Walking through insulation kicks up irritating fibers and dried rodent excreta.
- Concealed electrical lines: Junction boxes and Romex cables run beneath insulation, where mice love to gnaw.
- Extreme temperatures: Attic temperatures can exceed 130°F (54°C) in summer, accelerating carcass decay and odor.
Attic Inspection: Where to Look & What It Means
| Attic Zone | Inspection Checklist | Strategic Significance |
|---|---|---|
| Soffits & Eaves | Look for daylight gaps, warped fascia, chewed screen mesh. | Possible access points from branches, gutters or adjacent surfaces; inspect rather than rank without evidence. |
| Gable & Ridge Vents | Damaged screening or warped louvers. | Use a correctly fitted rodent-resistant guard that preserves required airflow; have vent details assessed where needed. |
| HVAC Ducts & Plumbing Stacks | Gaps around flexible duct boots and vent pipe sleeves. | Direct vertical expressways connecting the basement, kitchen walls, and attic. |
| Attic Hatch / Pull-Down Stairs | Perimeter seal, weatherstripping, droppings on top frame. | Possible route into living areas; inspection is needed to establish use. |
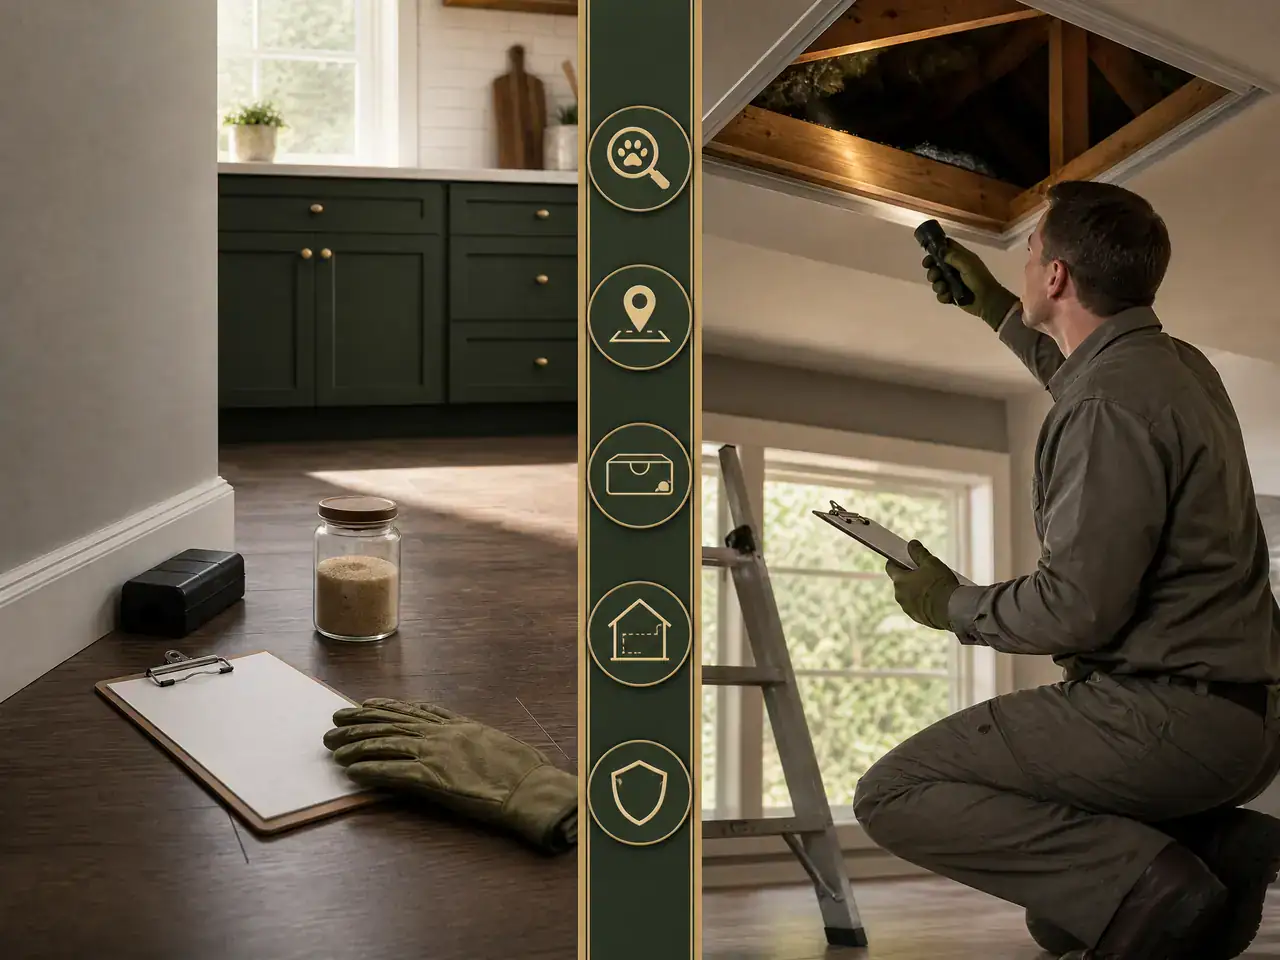
Video Guide: Attic Inspection & Remediation
Watch how pest control professionals inspect attic insulation, identify entry points, and execute safe exclusion:
Safe Attic-Removal Sequence (Step by Step)
- Secure living-level food first: Seal all pantry items and pet food on ground floors. Competing food can reduce bait attraction; removing it supports trapping but does not predict a catch.
- Establish secure attic access: Use gloves and a bright headlamp for safely accessible tasks; seek qualified assessment rather than disturbing contaminated insulation. Use walking boards across joists to avoid stepping on ceiling drywall.
- Deploy mechanical snap traps along framing: Position traps along wooden top plates and perimeter beams. Never toss traps into loose insulation. Learn ideal placement in where to place mouse traps.
- Check traps daily: Rapidly bag captured rodents using the CDC wet cleanup protocol.
- Coordinate exclusion with indoor control: Seal exterior roofline gaps with copper mesh and 1/4-inch hardware cloth. Review material choices in steel wool vs copper mesh.
- Continue monitoring: Record trap activity and newly appearing evidence after safe cleanup. Quiet traps and no sounds do not prove clearance; obtain a scope assessment before re-insulation.
Insulation: Contaminated vs. Intact Decision Table
| Condition | DIY Is Feasible When | Professional Help Recommended When |
|---|---|---|
| Droppings on attic floorboards | Localized on hard wood; safe wet cleanup possible. | Contamination is widespread across entire floor. |
| Small contaminated batt area | Get advice on removal and containment; a count of batts does not establish safe DIY scope. | Widespread tunneling or contamination in loose-fill insulation; appearance alone cannot establish current activity. |
| Full insulation replacement | Contamination, access, scope and any removal method need qualified assessment. | Scope, containment and cost require inspection and itemized local quotes. |
Electrical, HVAC, and Fire Hazards
Attic mouse infestations present serious structural and fire risks:
- Chewed electrical wiring: Mice gnaw plastic wire insulation down to bare copper, creating high-risk electrical short circuits and attic fire hazards. If you notice flickering lights or tripped breakers, stop and hire a licensed electrician.
- HVAC duct contamination: If mice chew into flexible ductwork, contaminated air is forced directly into living rooms and bedrooms whenever heating or cooling runs.
- Recessed lighting clearance: Never pack insulation tightly against non-IC-rated recessed lighting fixtures while repairing mouse damage.
When to Call a Qualified Professional
Escalate to a certified pest control or insulation remediation company when:
- Contamination covers more than a small, easily accessible section of the attic.
- You detect a strong dead-rodent odor from deep within wall cavities or insulation.
- You observe gnawed electrical cables or exposed copper wiring.
- Exterior roofline entry points require dangerous multi-story ladder or steep roof work.
- Trapping results plateau while fresh droppings continue appearing.
Frequently Asked Questions
Can I vacuum mouse droppings from attic insulation?
Do not vacuum or sweep rodent waste or nesting material. Do not disturb contaminated insulation yourself based on this guide; seek qualified assessment of containment and removal.
How do mice get into an attic?
Mice climb siding, gutters, and tree limbs, squeezing through gaps as small as a pencil (1/4 inch) at roof eaves, gable vents, soffits, and AC line chases.
Can I seal attic entry points while mice are still inside?
Do not seal all exterior exits while active mice are inside. Combine indoor trapping and exclusion with a plan for mice already inside. A set number of days cannot prove that an attic is clear.
How much does attic insulation replacement cost after mouse damage?
Costs depend on inspected scope, access, removal and disposal, replacement material and local labor. Obtain itemized local quotes; this guide does not estimate a price.
Do I need a respirator in the attic?
Respiratory protection depends on the task and exposure assessment. Do not enter or disturb contaminated insulation based on a mask recommendation; obtain qualified advice. Workplace respirator use involves formal requirements, not a product-approval claim.

Alexios Papaioannou is the founder and lead editor of Mice Gone Guide. He oversees research, article review, and content updates focused on mouse prevention, humane control, home proofing, and safety-first household guidance.