Best cleanup and safety supplies

Heavy-Duty Nitrile Disposable Gloves
Disposable nitrile gloves help reduce direct contact while handling droppings, nesting material, or contaminated disposable items.
Check first: Use the right size and dispose of gloves safely after cleanup.
Check on Amazon
3M N95 Particulate Respirator, 10-Pack
A NIOSH-approved N95 respirator is a practical baseline for dusty cleanup tasks where particles may become airborne.
Check first: Fit matters; facial hair or poor seal can reduce protection.
Check on Amazon
Industrial Diamond Texture Nitrile Gloves
Textured gloves can be easier to grip with while bagging contaminated material or working with disinfectant.
Check first: Follow the disinfectant label and never dry-sweep mouse droppings.
Check on Amazon
Xcluder Rodent Control Fill Fabric DIY Kit
Stainless-steel fill fabric for small holes, pipe penetrations, utility gaps, and other gnaw-prone openings before sealing.
Check first: Wear gloves, pack gaps firmly, and pair with the correct sealant for the surface.
Check on AmazonSafety note: Follow product labels, keep supplies away from children and pets, and use professional pest control when activity is heavy, recurring, or inside wall/attic voids.
Identifying Mouse Nests in Your Home: Where They Hide and What to Do
Mouse nests are usually hidden piles of shredded paper, fabric, insulation, plant material, packaging, or soft debris in warm, quiet areas near food and travel routes. Treat nests as contaminated: wet, wait, remove, disinfect, and then solve the entry route.

How to identify mouse nests safely
Finding a nest tells you that mice were not just passing through. Nests usually mean food, warmth, and cover are available nearby. After identification, use safe cleanup and the complete removal plan before final sealing.
This guide is part of a complete mouse-control cluster: start with confirming the signs of mice, then move to removal, entry-point sealing, food-source control, and safe cleanup so the problem does not return.
Goal
Find nests without spreading contamination or missing the conditions that created them.
Best tools
Flashlight, gloves, disinfectant, disposable towels, trash bags, inspection mirror, and a camera for documentation. Compare options in the verified tools and safety gear list before buying or upgrading equipment.
When to escalate
Escalate if nests are inside insulation, ductwork, appliances, wall voids, or if you find many nests in different zones.

Nest inspection and removal workflow
Work in this order so you do not waste time treating symptoms while the real access points stay open.
Confirm the evidence before acting
Start near fresh droppings and gnaw marks. Mice often nest near reliable food, warmth, and protected travel routes.
Remove attraction sources
Look for shredded paper, fabric, insulation, feathers, grass, packaging, and soft debris formed into loose piles or pockets.
Control active mice with targeted tactics
Before removal, photograph the nest location so you can trace the route to food and entry points.
Seal, clean, and monitor
Spray the nest and surrounding area with disinfectant, wait, remove with disposable towels, double-bag, disinfect again, then trap and seal.
Most likely indoor nesting zones
Mouse activity usually concentrates along edges, voids, warm equipment, stored food, and clutter. Start where the evidence is strongest.
| Priority area | What to look for | Best response |
|---|---|---|
| Behind appliances | Warmth, crumbs, paper, droppings | Clean and trap after safe wetting |
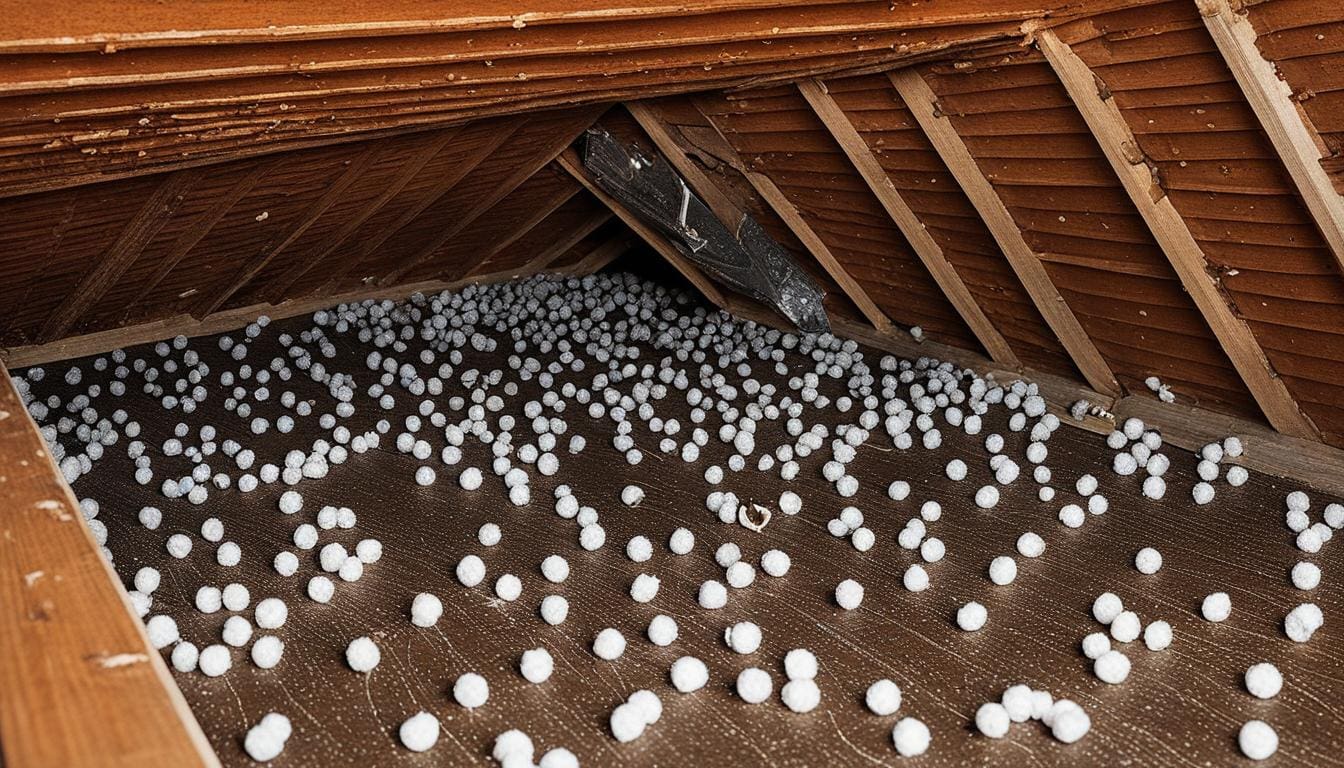
| Attic insulation | Tunnels, shredded insulation, urine odor | Avoid heavy DIY disturbance; inspect roofline entries |
| Garage storage | Cardboard, fabric, holiday decor | Declutter and replace boxes with bins |
| Cabinet voids | Paper, food packaging, pipe gaps | Remove food and seal utility holes |
| Wall and ceiling voids | Scratching, odor, droppings near baseboards | Do not open walls blindly; confirm routes first |
Safety rules, cleanup, and risk reduction
The safest long-term approach is integrated pest management: remove food and shelter, close entry points, trap strategically, clean safely, and monitor for new activity. Scent-only tricks may temporarily disturb mice, but they do not replace exclusion work or proper trap placement.
- Document fresh droppings before cleaning so you know where activity was strongest.
- Keep food, pet food, seed, and trash in rigid containers with tight lids.
- Reduce cardboard, fabric, and paper clutter that can become nesting material.
- Use traps in protected, out-of-reach locations if children or pets are present.
- Recheck sealed areas after weather changes or contractor work.
Common mistakes that make mouse problems last longer
- Skipping inspection: Treating the whole house blindly wastes effort. Let droppings, gnaw marks, rub marks, tracks, noises, and odor guide your plan.
- Relying on scent alone: Peppermint, dryer sheets, and sprays may mask odor briefly, but mice can stay if food, warmth, and openings remain.
- Cleaning dry droppings with a broom: Dry sweeping can stir contaminated dust. Wet first, wait, wipe, and dispose safely.
- Not sealing after removal: Trapping without exclusion leaves the structure open for the next mouse.
Frequently asked questions
What does a mouse nest look like?
It usually looks like a loose ball or pocket of shredded soft material hidden in a protected place.
Does one nest mean more mice?
Not always, but a nest means the environment supported mouse activity. Inspect surrounding areas carefully.
Can I pick up a mouse nest with gloves?
Wet it with disinfectant first, wait for contact time, then remove with disposable towels or tools. Do not shake or sweep it.
Where are mouse nests most common?
Common locations include behind appliances, inside cabinets, garages, attics, wall voids, storage boxes, and insulation.
Sources and review notes
This guide was written for homeowners and renters who need clear, practical mouse-control advice. It uses official public-health, pesticide-safety, and integrated pest management references where safety matters most.
- CDC — How to clean up after rodents
- EPA — Safely use rodent bait products
- UC IPM — House mouse control and exclusion
Last editorial update: April 24, 2026. Review cadence: update when public-health guidance, pesticide labeling rules, or pest-control best practices change.
Safety standard for mouse cleanup and control
Never dry-sweep or dry-vacuum mouse droppings, urine, or nesting material. Wet contaminated material with disinfectant first, wear disposable gloves, let the area sit, then wipe and dispose of waste safely. This article is reviewed against CDC cleanup guidance, EPA rodenticide safety notes, and university IPM exclusion guidance.
- Keep traps and bait stations away from children, pets, and food-preparation surfaces.
- Do not relocate live mice off-property unless local law allows it; relocation can be restricted, ineffective, or unsafe.
- Call a licensed pest professional for large infestations, repeated activity after sealing/trapping, contaminated insulation, or health-risk situations.
Primary references: CDC rodent cleanup guidance, EPA rodent bait safety, and UC IPM house mouse exclusion guidance.
How this guide was produced
Mice Gone Guide prioritizes homeowner safety, practical pest-control sequencing, and source-backed recommendations. Health, cleanup, bait, trapping, exclusion, and relocation guidance is checked against official safety sources where possible and written for ordinary homes rather than professional pesticide operators.
Reviewed by: the Mice Gone Guide editorial team. Last reviewed: 2026. If you spot an unsafe or outdated statement, contact us so we can correct it.
Clear takeaway: mouse nests confirm active shelter, not just passing activity
Short answer: A mouse nest usually means rodents found warmth, cover, and nearby resources. Treat it as evidence to inspect for droppings, entry points, food access, and hidden damage before cleaning the area and setting a control plan.
How to use this guide
- Look near insulation, appliances, storage boxes, attics, basements, and vehicles.
- Clean contaminated materials carefully instead of sweeping dry debris.
- Pair nest removal with exclusion so the same site is not reused.
Relevant next steps

Alexios Papaioannou is the founder and lead editor of Mice Gone Guide. He oversees research, article review, and content updates focused on mouse prevention, humane control, home proofing, and safety-first household guidance.