Post-Infestation Cleanup: Health and Safety Protocols

Rodent Infestation Cleanup After Mice

Cleanup after a mouse infestation

Quick answer: After a mouse infestation, clean with a wet disinfecting method, bag contaminated materials, remove nesting debris carefully, and seal entry points before activity returns. Do not dry-sweep droppings or make unsupported assumptions about disease risk. Heavy contamination, insulation, HVAC areas, and strong dead-rodent odor usually require professional assessment.
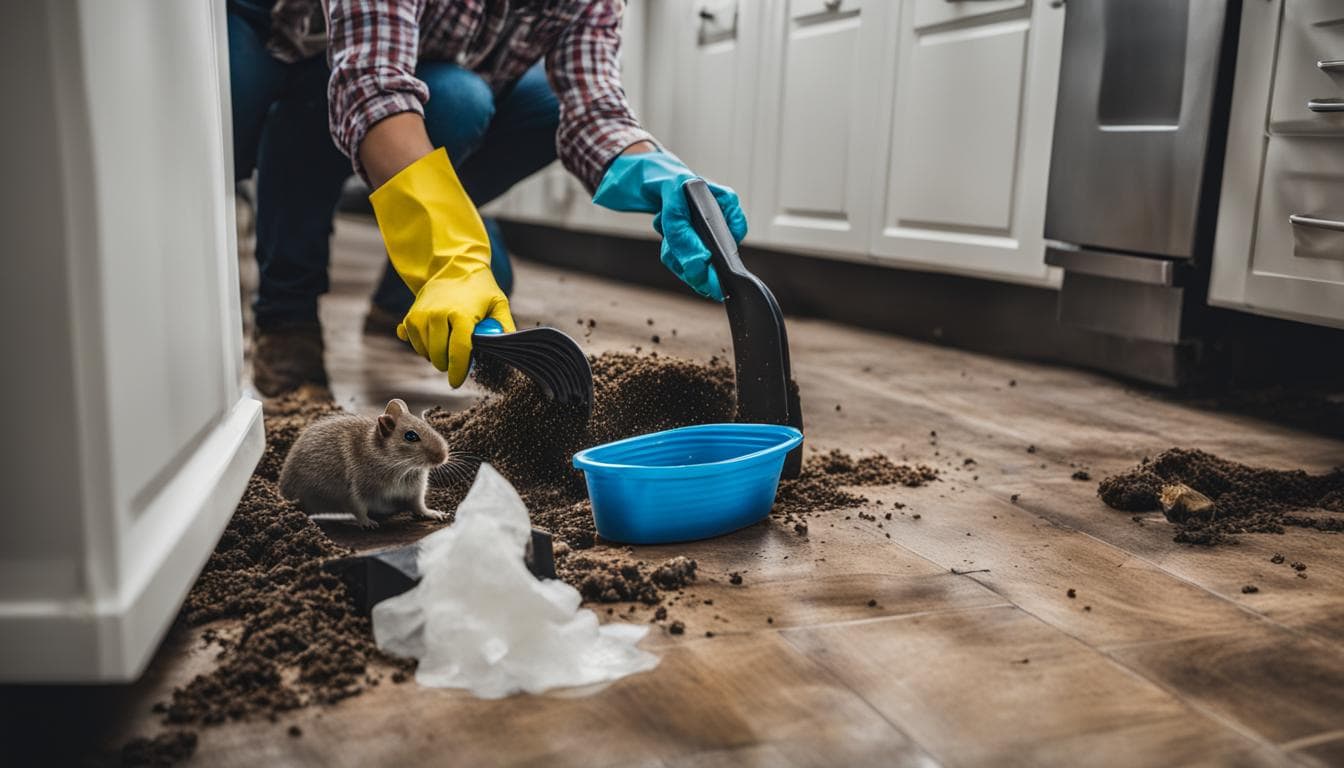
rodent infestation cleanup image
Post-infestation cleanup should happen after active pressure is controlled.
broom near floor debris showing unsafe dry cleanup risk
Avoid dry sweeping or stirring dust.
mouse droppings indicating contamination
Droppings show where cleanup and monitoring should focus.

Post-infestation cleanup sequence

1. Confirm active pressure is controlled

Look for new droppings, sounds, food damage, or trap activity. If fresh signs continue, cleanup alone will not solve the problem.

2. Ventilate before touching contaminated areas

Open doors and windows where practical and keep others away while you prepare.

3. Wet contamination before wiping

Use disinfectant according to the label. Keep droppings and nesting material wet before wiping and bagging.

4. Bag and remove disposable waste

Use disposable towels, double-bag contaminated waste, and clean hands thoroughly after glove removal.

5. Decide what must be discarded

Porous food packaging, heavily contaminated fabrics, nesting material, and damaged insulation may need disposal rather than surface cleaning.

6. Seal and monitor

Cleanup should end with exclusion and monitoring. If new signs return, the entry-point problem remains.

DIY cleanup vs professional remediation

Situation DIY may be reasonable when… Escalate when…
Small hard-surface droppings Limited area, no dust disturbance, healthy occupants Droppings are widespread or keep returning
Kitchen drawers/cabinets Food is discarded, surfaces can be disinfected Food-prep surfaces are heavily contaminated
Attic or crawlspace Only visual inspection from a safe access point Insulation is contaminated or airflow/HVAC is involved
Dead mouse odor Source is obvious and safely removable Odor is inside walls, ceiling, HVAC, or insulation

Supplies after the cleanup plan is clear

Affiliate disclosure: As an Amazon Associate, Mice Gone Guide may earn from qualifying purchases at no extra cost to you. Product prices, sellers, packaging, labels, and availability can change. Check the current Amazon listing and product label before buying or using anything around children, pets, food, or contaminated areas.
Best basic cleanup protection
Heavy-Duty Nitrile Disposable Gloves

Heavy-Duty Nitrile Disposable Gloves

Best for: reducing direct contact with contaminated disposable materials.

Avoid if: reusing disposable gloves after cleanup.

Use note: Remove carefully, bag waste, and wash hands thoroughly afterward.

Check current price on Amazon

Useful PPE support for dusty cleanup
3M Aura Particulate Respirator 9205+ N95, 3 Pack

3M Aura Particulate Respirator 9205+ N95, 3 Pack

Best for: careful cleanup preparation when droppings, dust, or nest material may be present.

Avoid if: assuming a respirator makes heavy contamination safe to DIY.

Use note: Fit matters. Follow CDC-style wet cleanup steps and escalate heavy contamination.

Check current price on Amazon

Best chew-resistant gap filler
Xcluder Rodent Control Fill Fabric DIY Kit

Xcluder Rodent Control Fill Fabric DIY Kit

Best for: pipe penetrations, utility openings, siding transitions, and small gnaw-prone gaps.

Avoid if: large holes that need hardware cloth, metal flashing, mortar, or structural repair.

Use note: Wear gloves and pair with the correct sealant or repair material for the surface.

Check current price on Amazon

Prevent re-contamination

  • Seal pipe gaps, garage corners, door bottoms, siding transitions, and foundation cracks.
  • Store food, pet food, birdseed, and grass seed in hard containers.
  • Keep a two-week inspection log after cleanup.
  • Use traps or monitors in protected locations where signs were strongest.

FAQ

How do I sanitize my house after mice?

Ventilate, wear gloves, wet droppings and contaminated surfaces with disinfectant, wait for the required contact time, wipe with disposable towels, bag waste, disinfect again, and wash hands.

Should I replace mouse-contaminated insulation?

Contaminated insulation is often not a simple surface-cleaning job. Avoid disturbing it and consider professional remediation.

Can I use a shop vacuum after mice?

Do not vacuum dry droppings or nesting material. Heavy cleanup or debris removal should be handled with proper containment and professional methods.

How do I know cleanup worked?

The area is cleaned and dry, odor is reduced, no new droppings appear, traps/monitors stay quiet, and entry points have been sealed.

Definition: what this page means by post-infestation cleanup and remediation triage

In this guide, post-infestation cleanup and remediation triage means a practical, safety-first process that uses evidence from the home instead of guesses. The central principle is simple: treat cleanup as containment, not ordinary housekeeping: confirm activity is controlled, avoid dust, wet before handling, remove contaminated disposable material, disinfect, and escalate heavy contamination. That is why the article avoids one-product miracle claims and keeps scent tricks, poison, and random trap placement in perspective.

A mouse problem is rarely solved by one isolated action. Food access can keep activity going even when traps are present. Open gaps can restart the problem after cleanup. Dry cleanup can spread dust. Unchecked traps can create odor or suffering. Poorly placed products can expose children, pets, or non-target animals. Each of these connects to the others, which is why a single fix on its own so often fails.

Important terms and concepts

  • post-infestation cleanup
  • mouse urine
  • droppings
  • nest material
  • dead rodents
  • attic insulation
  • HVAC contamination
  • odor
  • nitrile gloves
  • respirator
  • disinfectant
  • double-bagged waste
  • professional remediation

These terms matter because they describe the real parts of the problem. Signs, sanitation, trapping, cleanup, exclusion, prevention, and escalation all fit together as one sequence.

Room-by-room and situation-by-situation checklist

Mouse control gets easier once you stop thinking about the whole house at once and start mapping the zones where activity is actually concentrated. Use the table below to work through the locations that matter most, one at a time.

Area or situation What to check How to use the finding
Attics How far droppings extend through the insulation, and whether batts are tunnelled, stained, or matted into nests. Scattered droppings can be spot-treated; tunnelled or soiled insulation is normally removed and replaced. Ventilate the space before entering and never dry-sweep.
Storage rooms Whether contaminated items are porous (cardboard, paper, fabric, soft furnishings) or non-porous (plastic, metal, glass). Porous contaminated items are usually discarded. Non-porous items can be wetted with disinfectant, wiped, and kept.
Garages Droppings on concrete, shelving, and around spilled seed or pet food. Sealed concrete tolerates wet disinfection well. Saturate with disinfectant, let it sit, then wipe up — never sweep or vacuum dry.
Kitchens Food-contact surfaces, drawer and cupboard interiors, utensils, and any packaging that was open. Discard exposed food, wash utensils and dishes, then disinfect surfaces before they return to use.
Pantries Packaging that has been gnawed, punctured, or left open near droppings. Anything gnawed or exposed goes in the bin. Move what remains into rigid sealed containers so a repeat event does not cost you the whole shelf.
Crawl spaces Dust levels, airflow, and contamination of the vapor barrier. This is the highest aerosol-risk area because it is dusty and poorly ventilated. Ventilate first, wet everything thoroughly, and consider professional remediation for heavy contamination.
Wall voids A persistent decomposition odor with no visible droppings. This is not a DIY wet-clean; the source is behind a finished surface. It usually needs access to be cut, which is a good point to bring in a professional.
Utility closets Nesting material at the base of a water heater or furnace, and chewed wiring insulation. Nesting against combustion appliances or damaged wiring is a fire risk. Clean the area and have the appliance and wiring inspected before normal use.

Do not clean away every sign before you understand where the activity is concentrated. Fresh droppings, gnaw marks, and rub marks are unpleasant, but they are also evidence. Once documented, cleanup should follow a wet, contained process, especially around food-contact surfaces, children, pets, or stored items.

Step-by-step decision framework

Step 1: Identify the real problem type

Work out whether you are dealing with active mice, leftover contamination, open entry points, repeated re-entry, or simply a product-choice decision. A page about rodent infestation cleanup after mice should not treat all of those as the same problem. Active mouse signs call for trapping and food control. Contamination calls for wet cleanup. Re-entry calls for exclusion. Buyer intent calls for a product comparison after the safety sequence is clear.

Step 2: Protect people, pets, and food first

Before using any product, move food into rigid containers, keep children and pets out of contaminated areas, and never disturb droppings or nesting material while they are dry. If bait, disinfectant, sealant, or trap products are used, the label matters more than any blog post. This is especially important in kitchens, apartments, garages, and homes with pets.

Step 3: Treat the active route, not the whole house randomly

Mouse activity often follows edges: baseboards, cabinet backs, utility lines, garage walls, appliance gaps, and warm hidden runs. Random trap placement or random repellent use wastes time. The best action is the one placed on the route mice are already using.

Step 4: Close the loop with cleanup and exclusion

Cleanup without removal leaves new droppings. Trapping without exclusion can become a cycle. Exclusion without monitoring can trap activity inside. The complete loop is evidence, food control, trapping, wet cleanup, sealing, and monitoring.

Step 5: Escalate when the risk is bigger than DIY

Professional help is appropriate when activity repeats after correct DIY steps, when droppings are widespread, when wall or attic voids are involved, when insulation or HVAC areas are contaminated, or when health-risk occupants are present. Knowing where DIY stops is part of doing it safely.

Best for / avoid if guidance

Option Best for Avoid if Important note
DIY inspection Small, visible, recent activity with clear evidence. You cannot safely access the area, or contamination is heavy. Photograph evidence before cleanup or sealing.
Traps Active runways where placement can be controlled and checked daily. Children, pets, or non-target animals can reach the device. Use several properly placed traps rather than one trap in the open.
Live trapping Light activity where traps can be checked very frequently. You cannot inspect often or local release rules are unclear. Live trapping still requires exclusion and sanitation.
Exclusion materials Confirmed gaps, pipe penetrations, door bottoms, and utility routes. The gap is an active vent, drain, combustion-air opening, or structural issue. Do not block required ventilation or drainage.
Professional pest control Repeated activity, heavy contamination, walls, attics, odors, or health concerns. The issue is a single visible fresh sign that can be safely managed. Ask what inspection, exclusion, cleanup, and monitoring are included.

Where to go next

Use this checklist while inspecting on your phone

  • Take photos of droppings, gnaw marks, rub marks, nesting material, and possible entry holes before cleaning.
  • Keep children and pets away from contaminated or trapped areas.
  • Work from the strongest evidence first instead of treating every room at random.
  • Do not dry-sweep or dry-vacuum mouse droppings or nesting material.
  • Use products only after matching them to the problem: active mice, cleanup, sealing, or prevention.
  • Check traps and live-catch devices frequently and follow all product labels.
  • Stop and call a qualified professional for heavy contamination, unsafe access, repeated activity, or health-risk situations.

More questions people ask

What should I do before buying anything for rodent infestation cleanup after mice?

Identify the problem type first. Look for fresh signs, active routes, contamination, likely entry gaps, and safety constraints. A product is only useful when it matches the situation. Buying traps, repellents, or sealants before this step often leads to wasted money and missed activity.

What is the most common reason DIY mouse control fails?

The most common failure is treating one symptom while leaving the rest of the system untouched. A trap can catch one mouse while food remains available. Cleanup can remove visible droppings while entry gaps remain open. Exclusion can fail if active mice are still inside. The fix is a sequence, not a single object.

Final safety checklist before you act

  • Identify whether you are dealing with active mice, leftover contamination, open entry points, or a product-choice decision.
  • Keep food, pet food, bird seed, and stored snacks in rigid sealed containers.
  • Place traps only where activity is confirmed and where children and pets cannot reach them.
  • Wet droppings and nesting material with disinfectant before removal.
  • Use chew-resistant materials for entry points; foam alone is not a durable rodent barrier.
  • Read every product label before use, especially around kitchens, pets, children, and contaminated spaces.
  • Monitor for at least two quiet weeks after the last sign of activity.

Sources and review notes

This guide is written for ordinary homes and reviewed against public-health, pesticide-safety, and integrated pest management references. It is not medical, legal, or pesticide-label advice.

Author/editorial note: Written by Alexios Papaioannou for Mice Gone Guide. Last reviewed May 31, 2026. Update when public-health cleanup guidance, pesticide labels, or exclusion best practices change.

Mice Gone Guide

Get smarter mouse-control emails

Practical mouse prevention, safe cleanup, and product recommendations that help you act faster with less guesswork.

No spam. Just actionable guidance for keeping mice out and cleaning up safely.